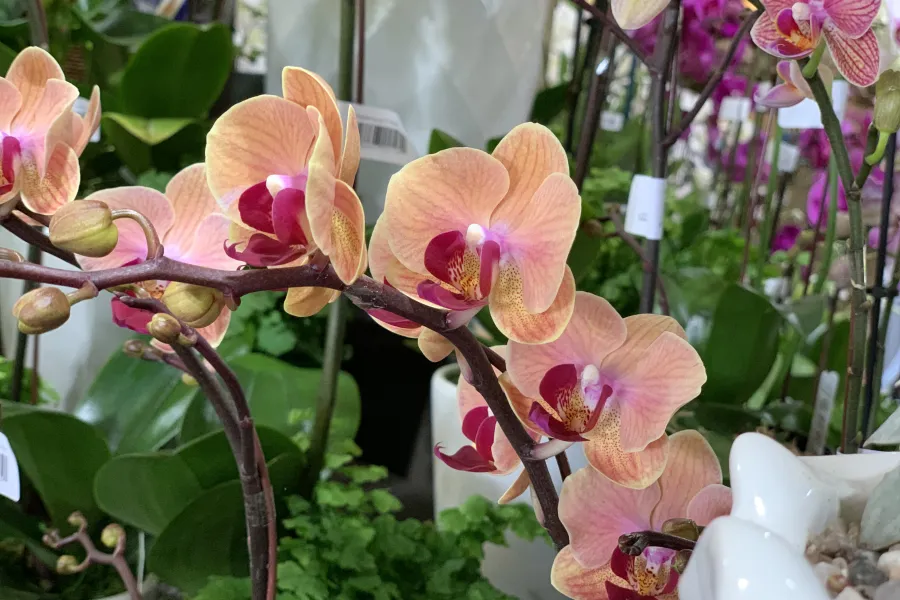


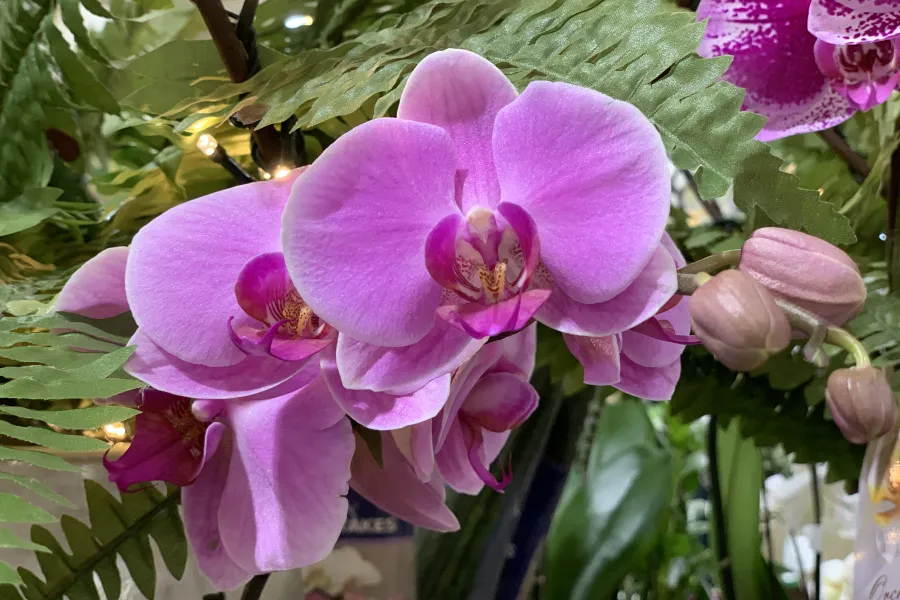
DIY
Repotting Orchids
Indoor Project
Step 1
Remove the orchid from its original container. If it is stubborn and feels a bit difficult to pull from the container, gently squeeze the sides of the pot and tug again. It should come right out.
Step 2
Pull away the potting mix or bark from the roots of the orchid. Remove as much as possible so that what you are left with is a completely exposed root system.

Step 3
Gently pull at the existing roots to remove any dead or rotted roots - these roots will feel mushy and not firm and be tan to brown instead of grayish white.
Step 4
You are now ready to replant the orchid. If your orchids root system was mostly healthy and not many roots needed to be removed you will replant it in a slightly larger container than it was originally planted in. If you had to remove a lot of the root system, you will want to plant it back in the pot it was in. Because, if orchids are potted in too much soil their root system will rot. Now, place the root system in the container so that it sits even with the lip of the container.

Step 5
Gently push the soil or bark in between the roots pushing down with your finger until the pot is full.
Step 6
Finish off the top of the soil with a decorative touch by adding moss or stones.
Step 7
Tie any bloom stalks to a support stake, such as bamboo or a decorative branch.
Step 8
Finally, water in your orchid well and move it to a spot with bright but indirect light.